
So you've signed up to Go1 and now you're ready to put together your first course. Don't worry, we're here to help! Creating courses is very easy to do, and to make things even easier, I have put together a great tutorial to guide you through the process.
In this tutorial we will be covering the following topics:
- Naming a course
- Public and Private courses
- Adding introduction videos
- Attaching certificates
- Creating a new module
- Selecting existing modules
- Module dependency
- Managing courses
You can also read through the steps mentioned in the video here:
- When you first login you will be met with the student interface for the system. If you're an administrator, clicking on your name in the top right will display a dropdown with "Configure" as an option. Click this and it will load the Admin dashboard.
- You can navigate to the courses page under LMS on the navigation on the left, or you can Click Add Course on the Courses tile.
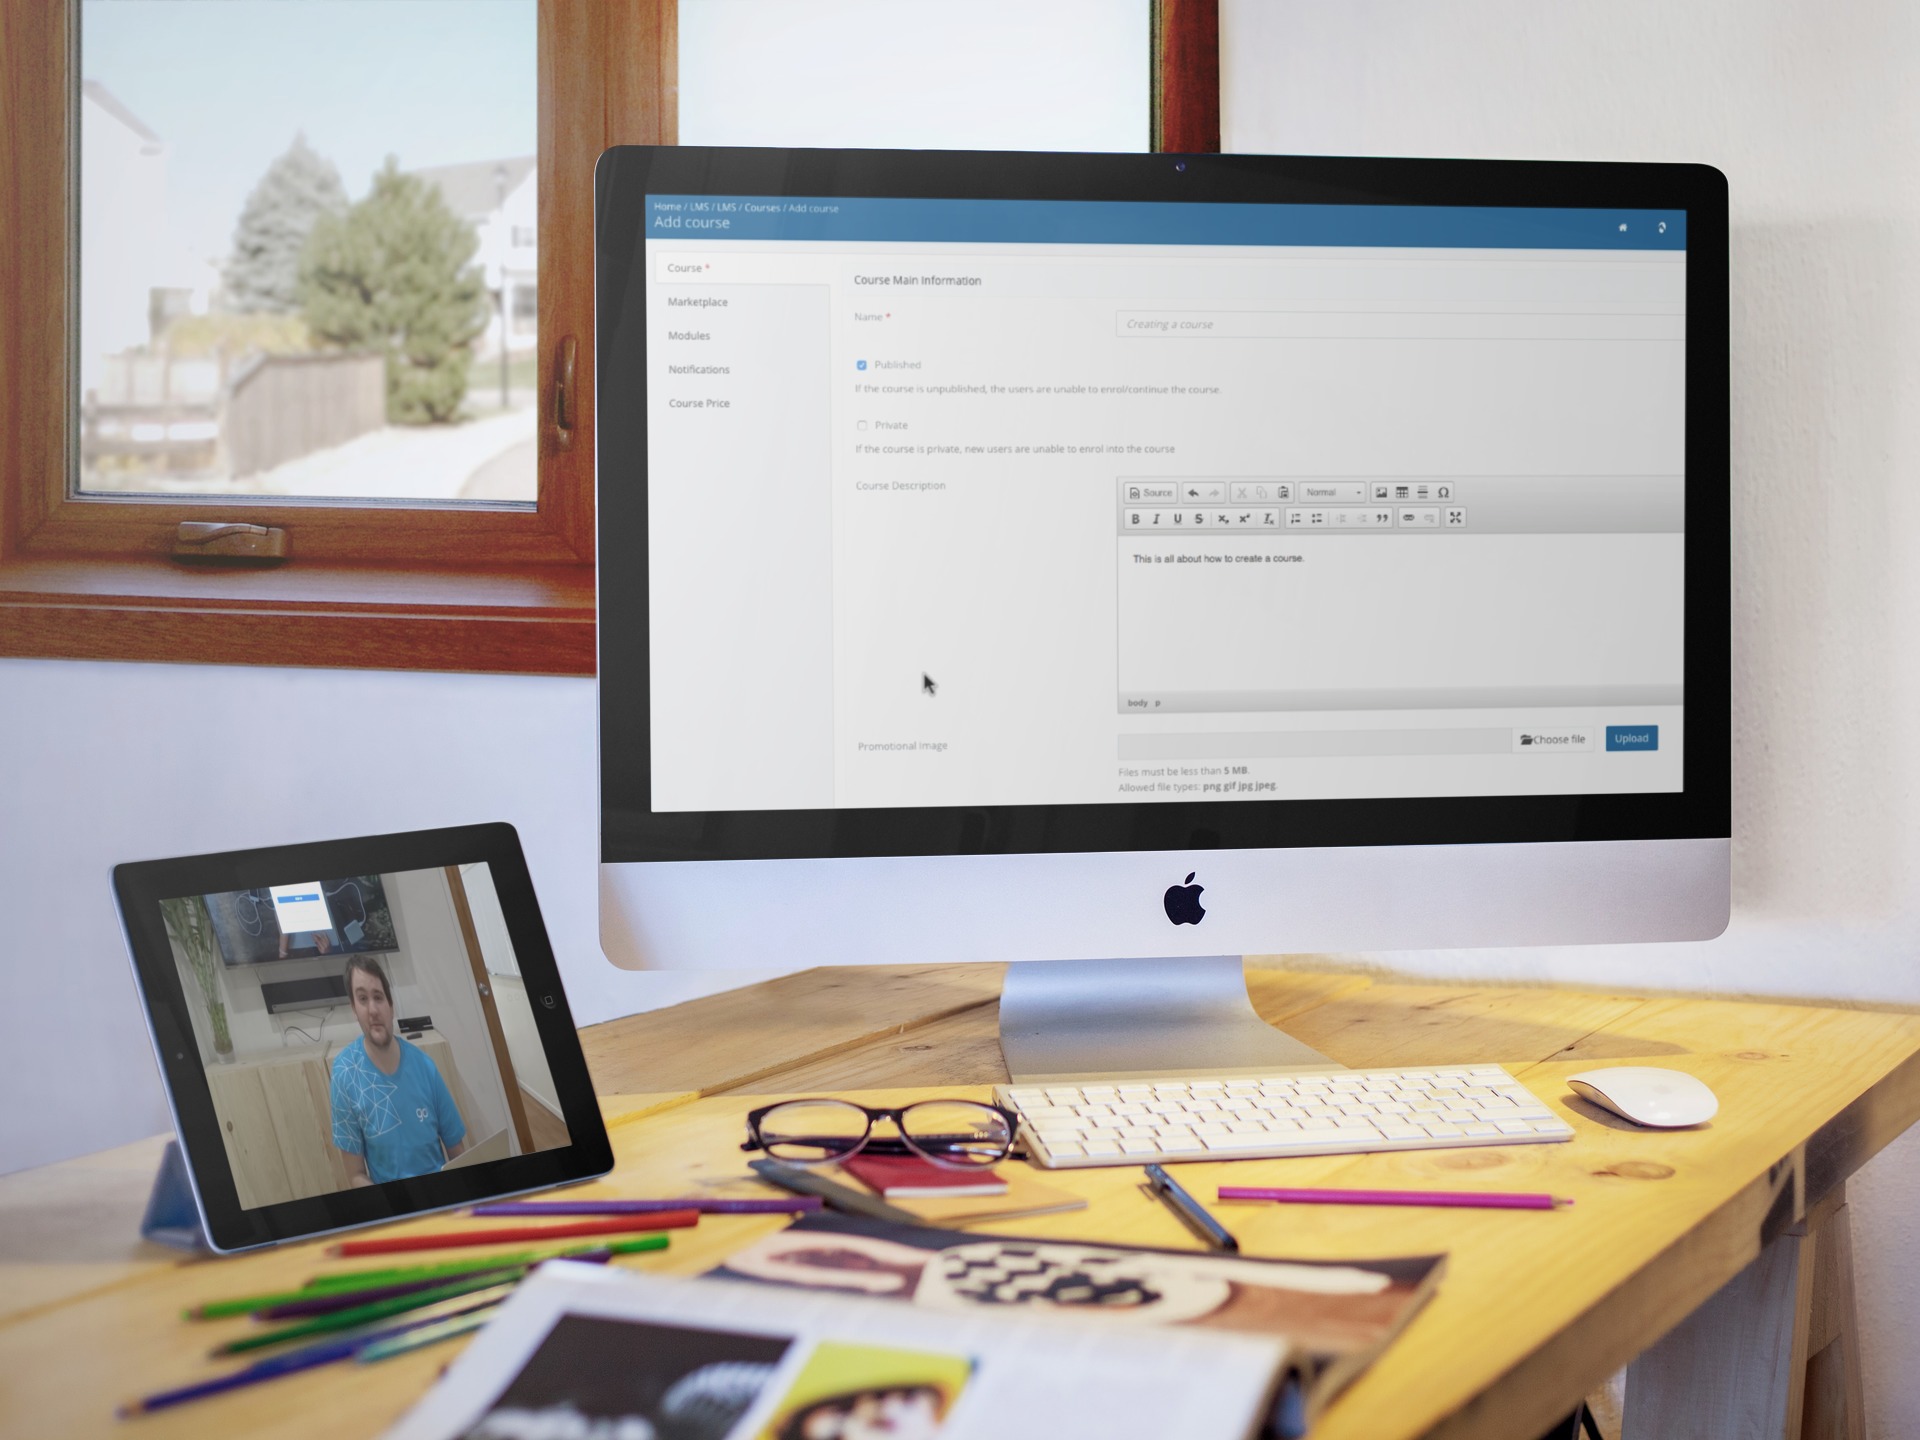
- Start off by naming your course. Give it a brief description if necessary.
- Courses which are published will be viewable. If you check the PRIVATE box as well as published, then only users who are enrolled in the course will be able to see it (A good way to create your course over a number of days, and only unchecking the private box once it's ready for others to see). This is also useful if you want to enroll only specific users in the course.
- You can upload an image to be used for the course. Simply Click Choose file, select your jpeg, png, or gif, and click Open.
- You can also include an introductory or explainer video for the course if desired.
- You can attach a certificate template to your course, much the same way as the image but using .pdf or .docx files.
- Under the Marketplace tab, you can define whether your course is to be published for My Company only, on the public Marketplace, or to share with a particular portal.
- The course structure goes Course, Module, Materials. Think of a Filing Cabinet. The cabinet is your course. To fill our Cabinet, we need to put in some drawers. The drawers are your modules.
- Click the modules on the inner navigation, and you'll see a button to Create Module or a bar to search for existing modules.
- Start off by Creating a module. Give it a name, description, and an image for the module and save the module. We've now got one drawer in our cabinet, now for a second.
- The great thing is, we can select an already existing module in the portal. We can use the search bar to find our existing module.
- You can also easily set module dependency, making one module locked until the specified module has been completed.
- Under the notifications tab, you will be able to customize the enrollment email which users will receive, just modify the subject and body texts, and check the "Use this email content" box if you wish for it to overrule the system default. You're also able to upload documents and files to be attached to your enrollment email if you so desired.
- We're done with our basic course setup, so click 'Save' at the bottom of the page.
Go1 helps millions of people in thousands of organizations engage in learning that is relevant, effective and inspiring.
Latest stories and insights

Learning looks a little different for employees in manufacturing, distribution, and logistic roles who don’t work from an office. These strategies will help frontline teams make time for learning without delaying production.

Learn more about our compliance training for organizations based in the European, Middle Eastern, and African (EMEA) regions.

