How to use your mobile phone to record video with a green screen

As technology has advanced over the past decade, recording your own videos has become easier than ever! We all have a device that can record high definition video sitting in our pockets, yet most of us don't know how to use these devices to their full potential. Video is now the go to communication tool across the world, and with a few tricks and some basic equipment, you can learn how to shoot professional quality video.
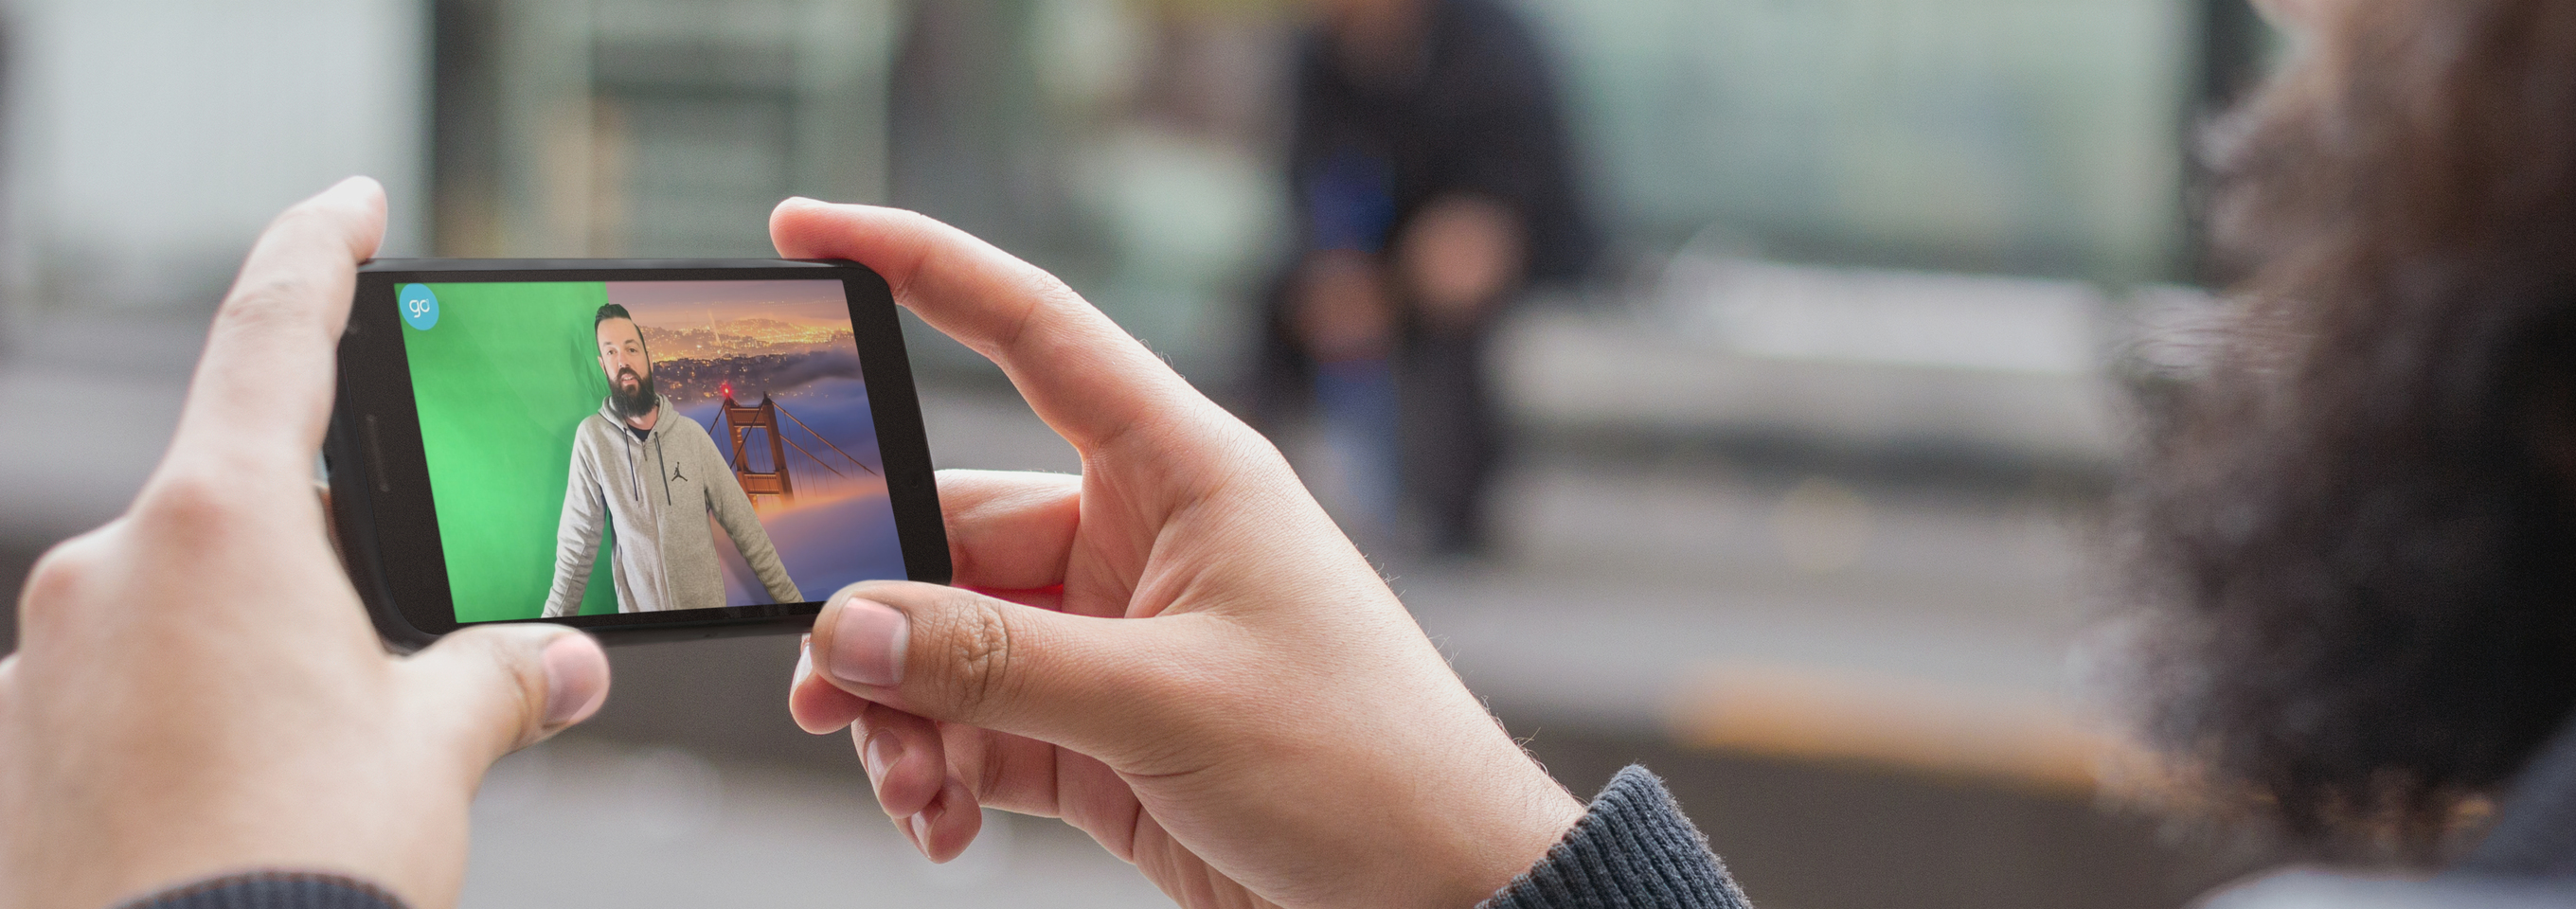
Screen recordings are fantastic, but when you can put the face of your instructor into the video, engagement levels are going to rise. Speaking in front of a camera can be tough to begin with, but like anything; the more you do it, the better you get, and it's a great skill to have.
With the use of a green screen you can transform your home office into a production studio, creating a more engaging and informative environment to present your content, and record videos or interviews that can be included in your course modules. Once you have mastered the basics that we cover in this tutorial, you can then move on to more advanced editing techniques that will allow you to increase your audience engagement.
In this post we are going to tech you how to record your own green screen video and audio, as well as walking you through how to edit everything together.
To set up your own studio similar to the one featured in the video above, you will need the following items that can easily be ordered online through Amazon:
- A Green Screen back drop; These can be ordered online or purchased from a photography/video store. If you are looking for a cheaper alternative, you can head to your local craft store and make your own green screen. When doing this just ensure that the material have a matte finish so it's not reflective at all, and will provide an even color when lit up with your lighting equipment.
- Two LED light panels; These are used to light your screen as well as lighting your presenter. As per the above video, to light the green screen you should have one light set up down low pointing at the space behind the presenter, if you have enough lights, one on each side is even better! Your second LED panel should be set up next to your recording device as high as your stand will go, and on the opposite side to your back light (if you are only using one)
- For this recording we used one Condenser Microphone, or room mic, as well as a Lapel Microphone. Lapel mics are very cheap (Under $20) and are a great investment, because what you're saying is the most important part so people need to hear it!
- Any Apple computer with iMovie (this should be standard on all Macs)
- Any iPhone, Android or mobile device with video recording functionality
- A tripod with adaptor to hold your device
If you have any questions about how to set up your green screen or other equipment, feel free to contact me on Twitter and I'd be happy to hep you get up and running!


