
There are tools out there that let you build websites with simple drag and drop functionality, so why can't you do the same thing with creating online courses? Now you can with Go1 inline editing!
The latest update on the Go1 platform has made creating your own customized courses even easier by allowing administrators and creators to watch their course come to life as they are adding element. Similar to the tools that you are already familiar with on website building platforms like Squarespace, you can now use inline editing to add videos, documents, update text, images and more all within the same display view that your learner will be seeing.
You can find more about how inline editing works in this video.
After creating your course in the Administer dashboard, you no longer need to create any further content before clicking on the 'Learn' button and jumping straight into the learner view for your new course.
Once you have gone into your 'My Courses' tab on the left hand side LMS menu and selected your new course, you can then click on 'Review' to view and start adding/editing your content.
We can now see that there is no content in our new course yet. We can begin the editing and adding content by clicking on the 'Edit' button in the top right hand corner of the screen.
We have now enabled all of the editing featured on the page. To start we can click in the title area and begin entering a title and description for our course. We can even change the cover image for our course by clicking the area just below the header.
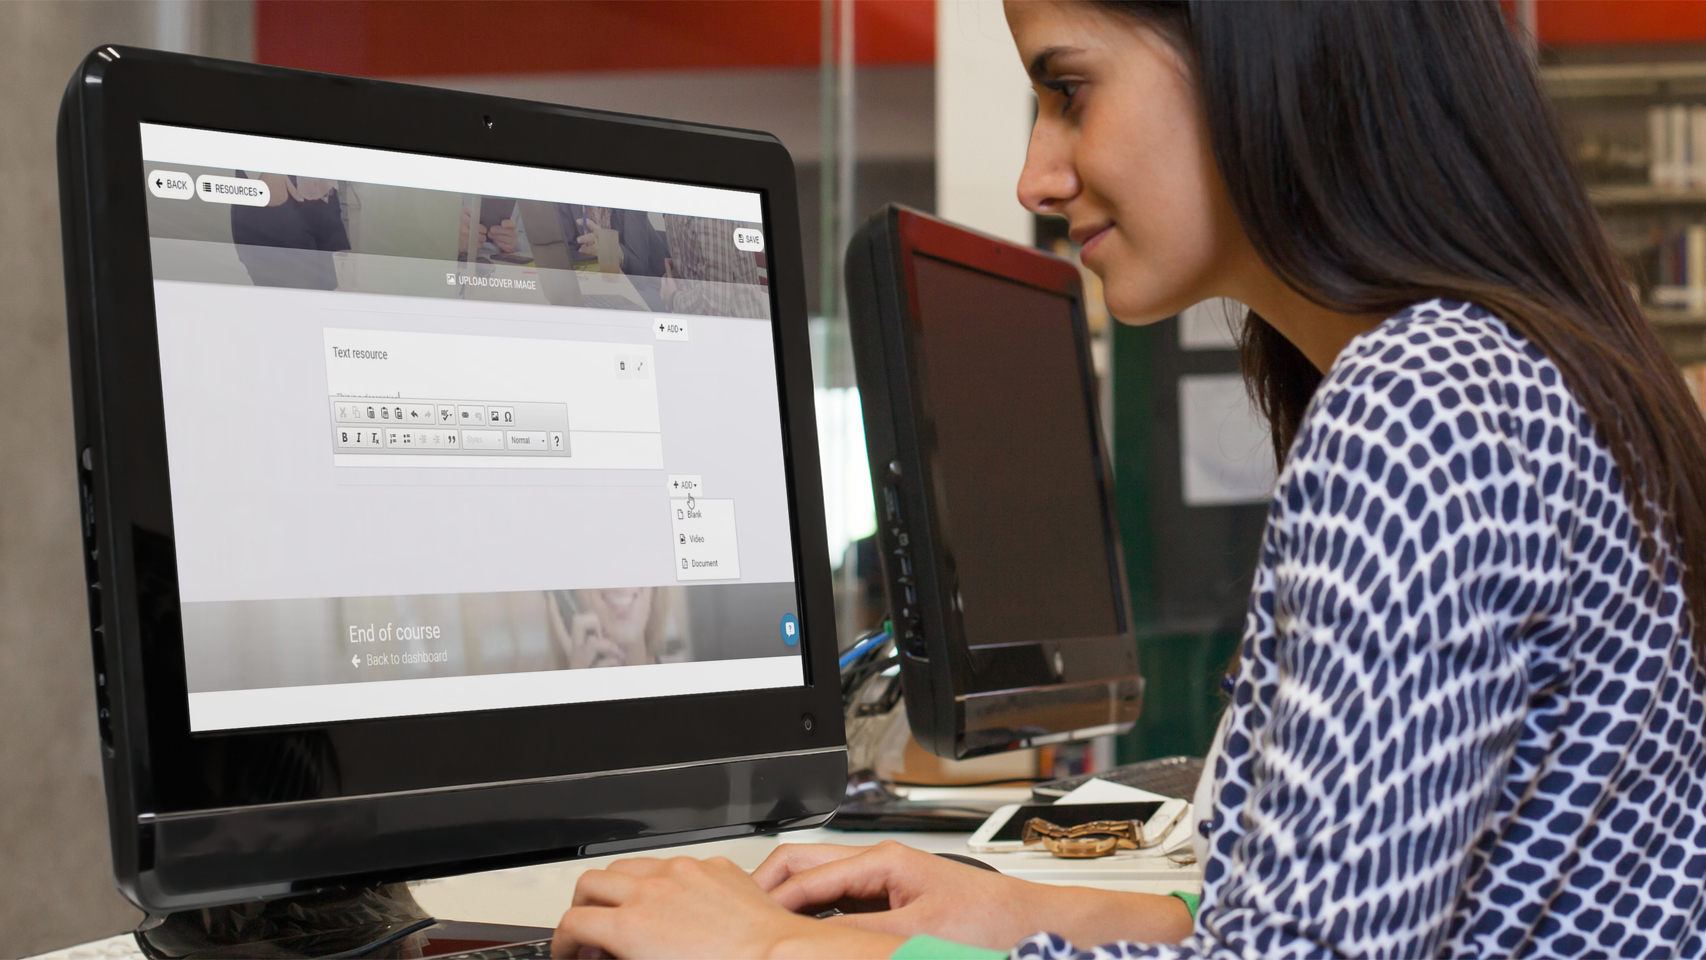
Below our header there is a box called '+ADD', this is where new content blocks can be added to the course.
Our first content option is text. In this block we can enter a title for the content we are about to add by simply clicking in the blank area at the top of the text box. Below that we can enter any text that we would like to include in this section as a part of the course.
The next item that we can add to our course is a document. We can still add a title and description of the document that we are adding, exactly the same way as mentioned above, but then we also have the ability to click the button below and upload a document. This could be a word doc, excel, powerpoint, etc. Once uploaded the doc will display in your course.
Our last item to add is video. Again we can add our title and description as per the text box mentioned above, but we can then click upload video to add a video resource to the course.
Any of the above blocks can be rearranged to be in your order of preference, and you can delete any blocks that you no long want to use by simply clicking on the trash can in the top right hand corner of each block.
With the addition of these tools creating and editing courses just got a whole lot easier for everyone!
If you have any problems or questions relating to your inline editing tools, please do not hesitate in contacting us at [email protected] and we can guide you through the process.


