Connect your customers to Go1 by manually provisioning customer accounts via the Go1 Partner Hub.
Overview
This guide demonstrates how to connect your customers to Go1, by manually creating individual customer accounts, also known as portals, using the Go1 Partner Hub. For each onboarded customer, you will be able to manually retrieve API Keys, allowing you to authenticate and act on their behalf using the Go1 API.
Why creating customer portals is required?
When integrating with Go1 under a Reseller or Referrer arrangement (ie. you are partnering with Go1 to provide a content offering to your customers), you are required to create a unique portal entity for each customer you provide content to.
Customer portals are the gateway for each customer (and their users) to access Go1 content and contains unique information about customer usage for reporting, billing & insights.
Why should you use this method to create customer accounts?
Manual account provisioning is perfect where the volume of customers is likely low (10’s or 100’s of customers), particularly where you might be onboarding customers one-by-one or where the partner is working with Go1 to provide a heavily guided experience.
Creating customers via a manual approach might not be suitable where 1000’s of customers are to be pre-provisioned or managed, due to the manual nature of onboarding. In these cases, our Onboard API will be more appropriate to enable greater automation when creating accounts.
How it works
You can create a customer account manually within the Go1 Partner Hub (the hub for Go1 Partners to create, view and edit their customer portals). We’ll cover these steps as well as how to obtain the newly created customers API Keys, and authentication with those keys via the steps below:
- Log in to Partner Hub
- Create a customer portal
- Obtain the created customers API Keys (Client ID and Secret)
- Authentication using the customers API Keys (Retrieve an access token)
Preparation
To use the Partner Hub to create customer portals, there are some pre-requisites that need to be met:
- You will need a Partner Hub account. Our Implementations Team will set this up for you and will provide login details during onboarding (to learn more, contact us at integrations@go1.com).
- Any Go1 Content Bundles (i.e. Go1 Premium) that you would like to add to your provisioned customer portals will need to be configured by Go1. Our Implementations Team will also set this up for you during onboarding (to learn more, contact us at integrations@go1.com).
Tutorial video
This brief video provides an overview of how to use the Partner Hub to create customer portals.
Implementation steps
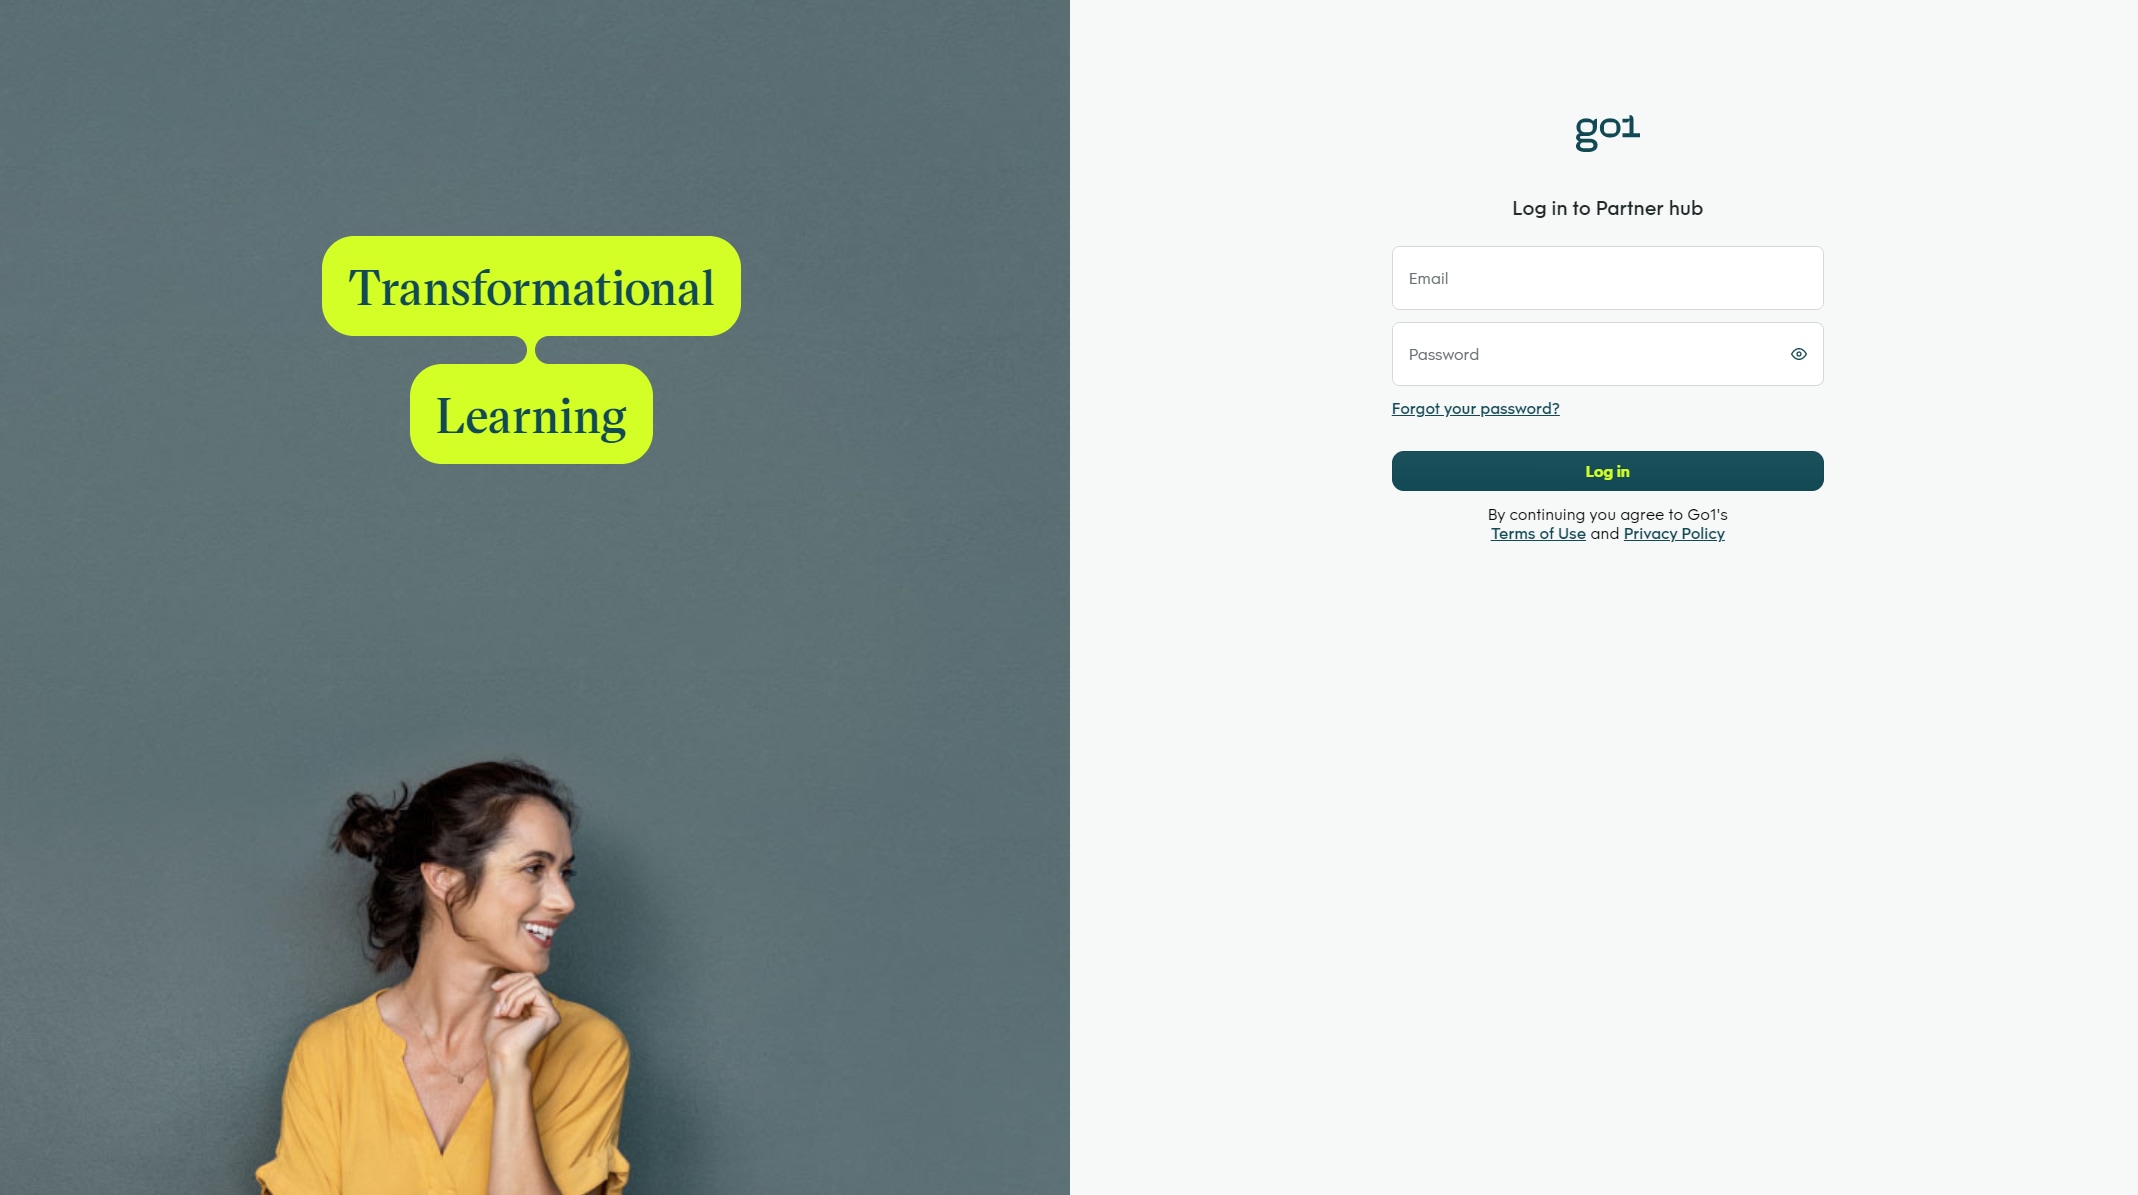
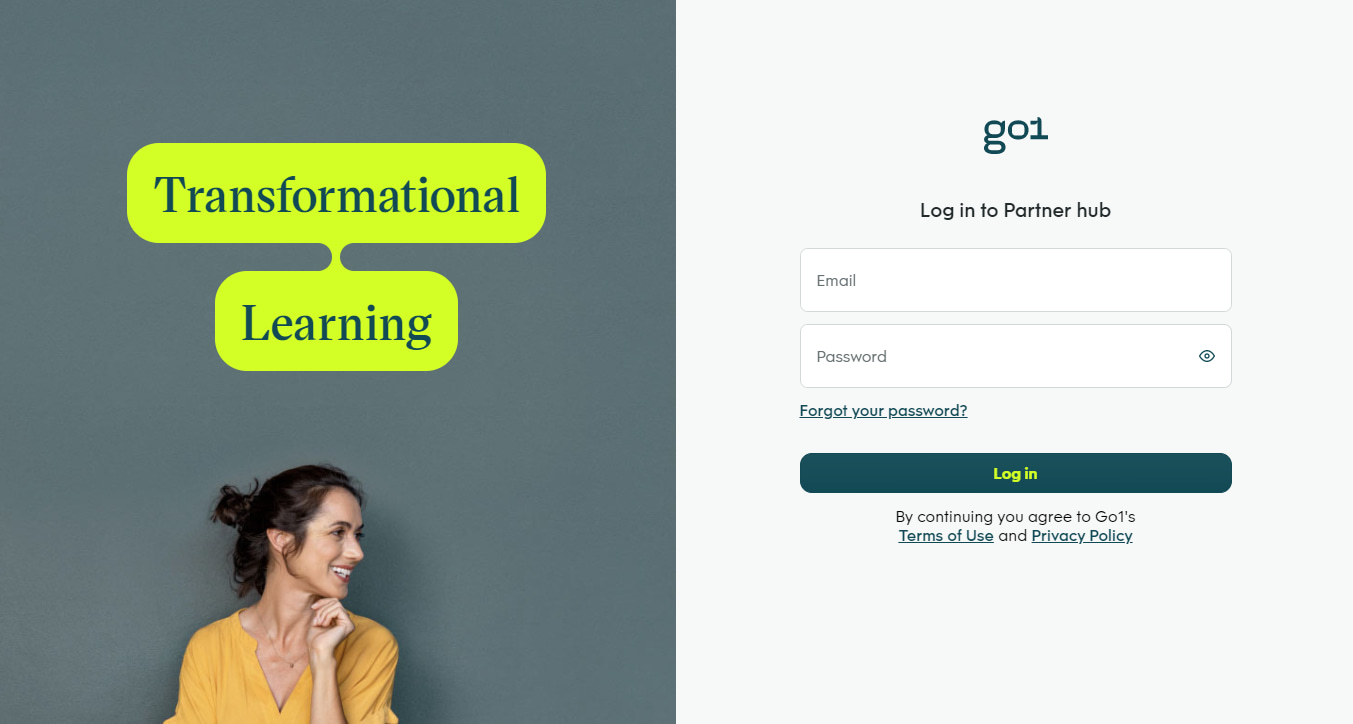
Step 1. Log in to the Partner Hub
Log in to the Partner Hub by navigating to partnerhub.mygo1.com, and entering your username and password. As noted above, our Implementations Team will set this up for you and will provide login details during onboarding (to learn more, contact us at integrations@go1.com).
Step 2. Create a customer portal
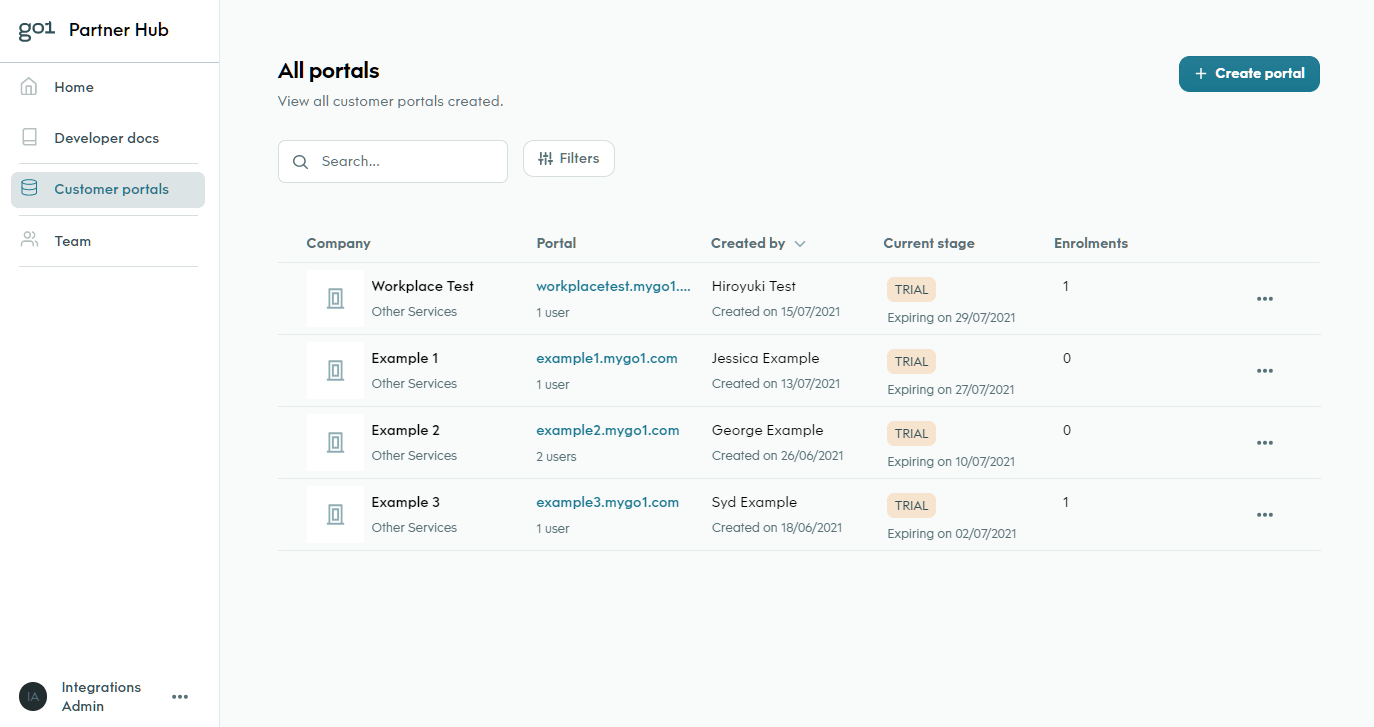
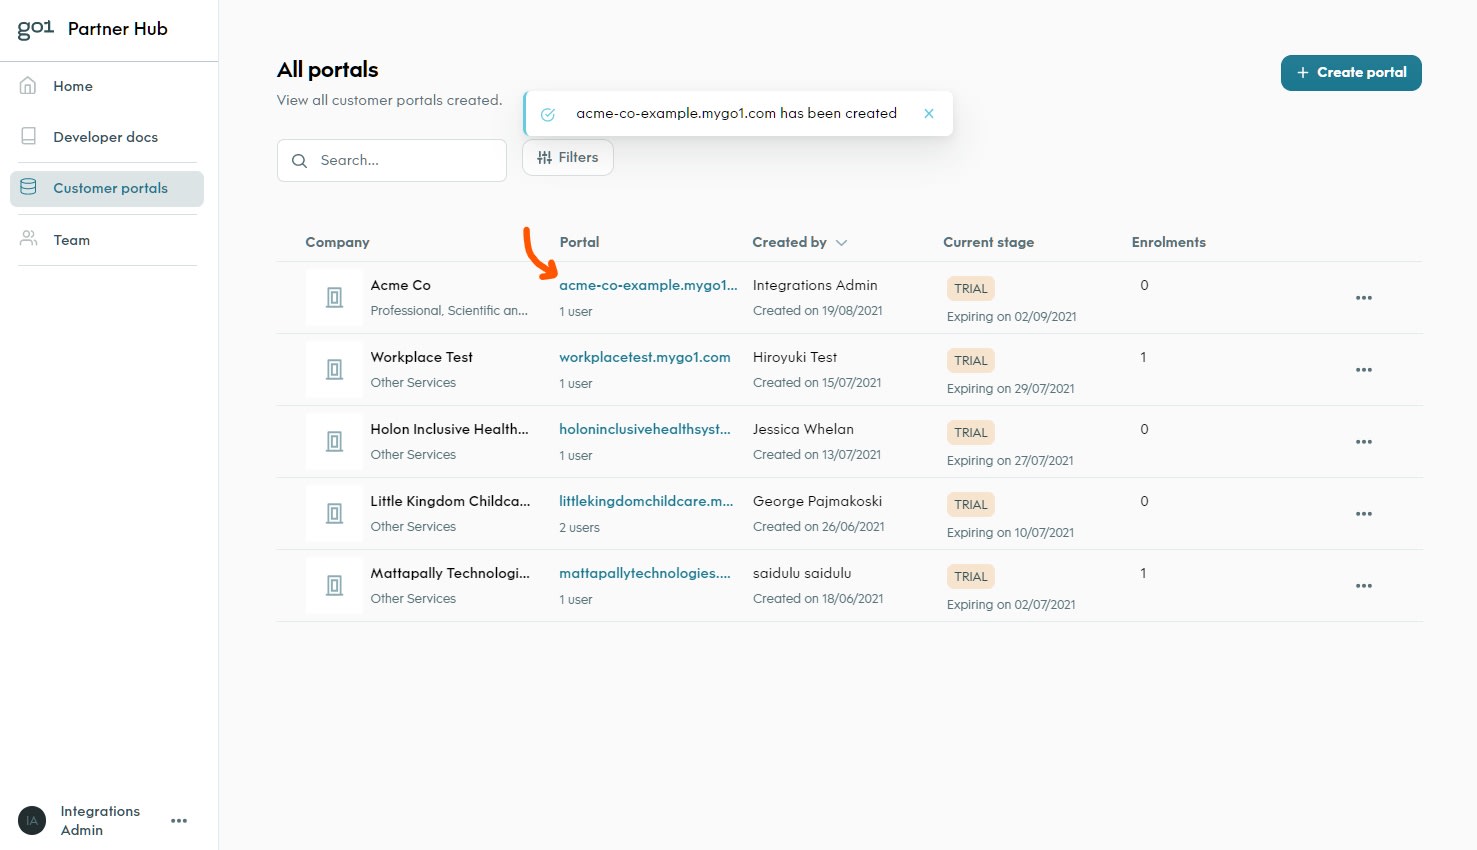
2.1. To create a new customer portal, head to the Customer Portals tab and select the + Create Portal button.
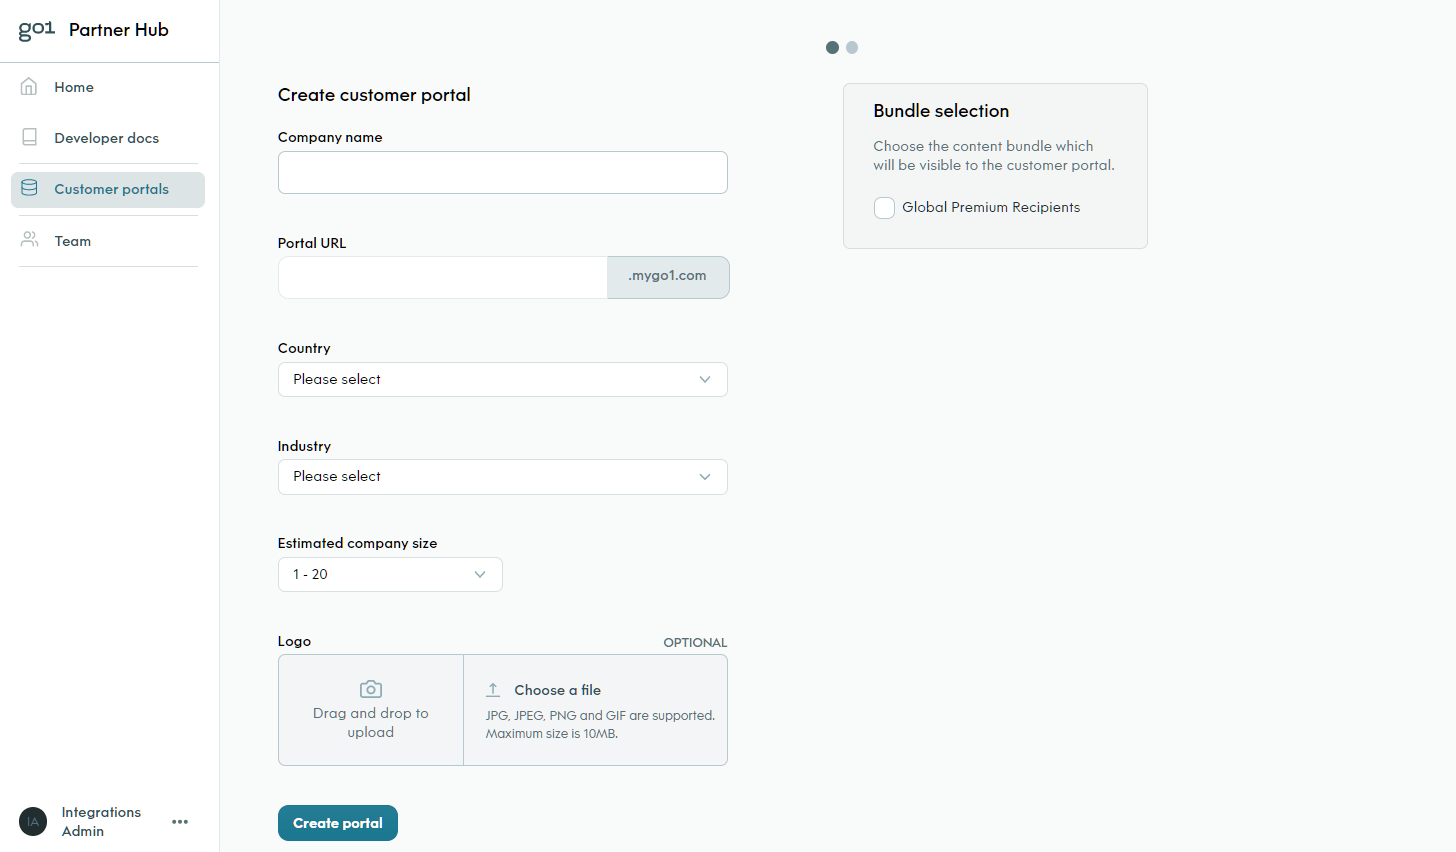
2.2. Complete the form, and select the content bundles you would like to add to the portal (note. for the content bundle selection to appear, this will require configuration by the Go1 Implementation Team).
2.3. Select the create portal button to finalise the portal creation process.
Note, you will optionally be able to invite users to your newly created portal (this will be useful where the customer will be accessing the Go1 LMS Platform directly - you can skip this step if not relevant).
Step 3. Obtain the customers API Keys (Client ID and Secret)
After the portal has been successfully created, you will be able to retrieve the API Keys (client_id and secret) for the portal. The API keys can be stored within your application and used to authenticate and make requests to the Go1 API on the customer's behalf.
3.1. To obtain the customers API Keys - from the Customer Portals tab in Partner Hub, click the Portal URL to open the customer's portal page in a new tab.
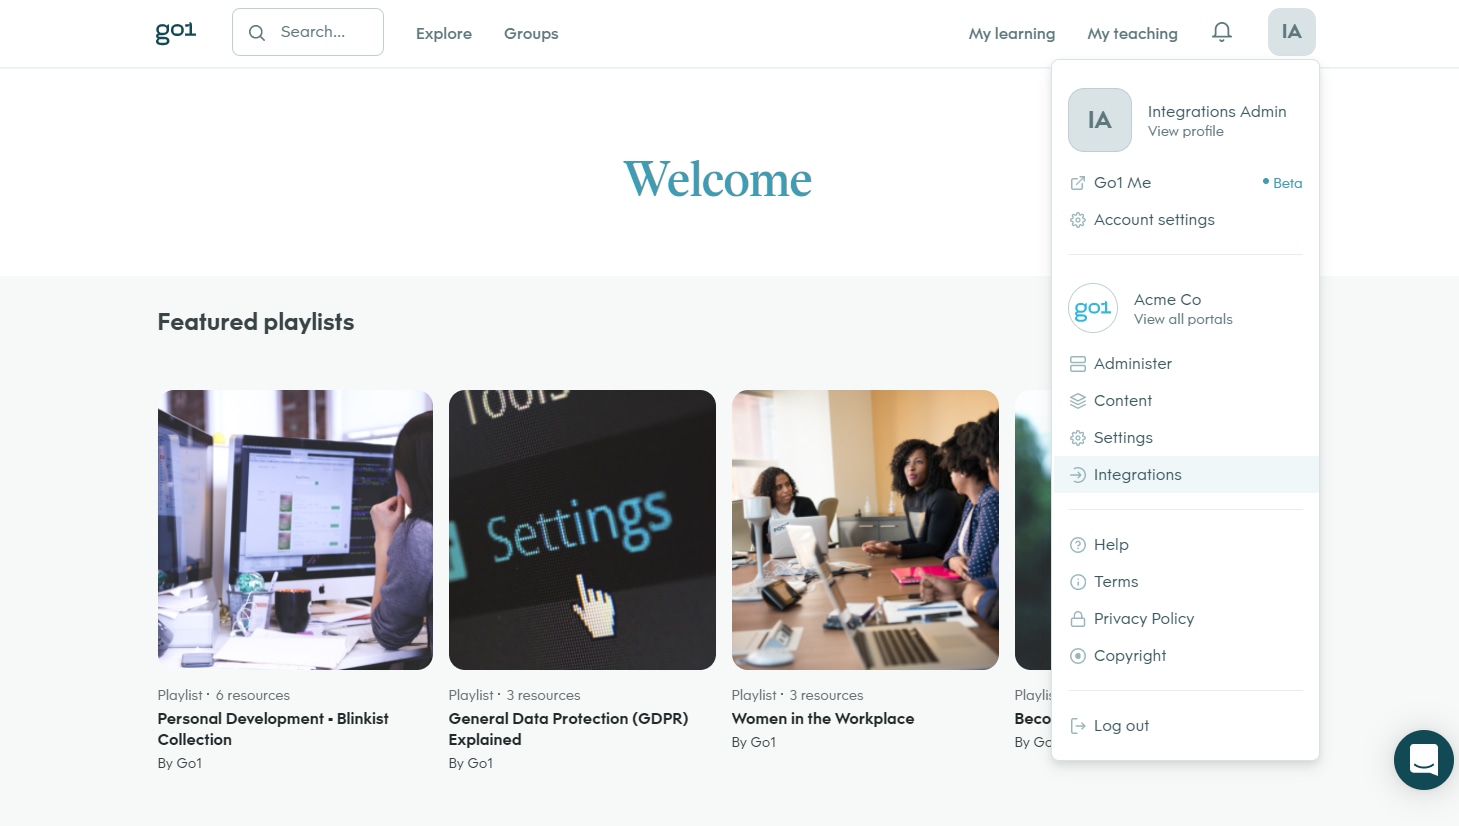
3.2. Within the Customers Portal Page, navigate to the drop-down menu in the top right and select the integrations page.
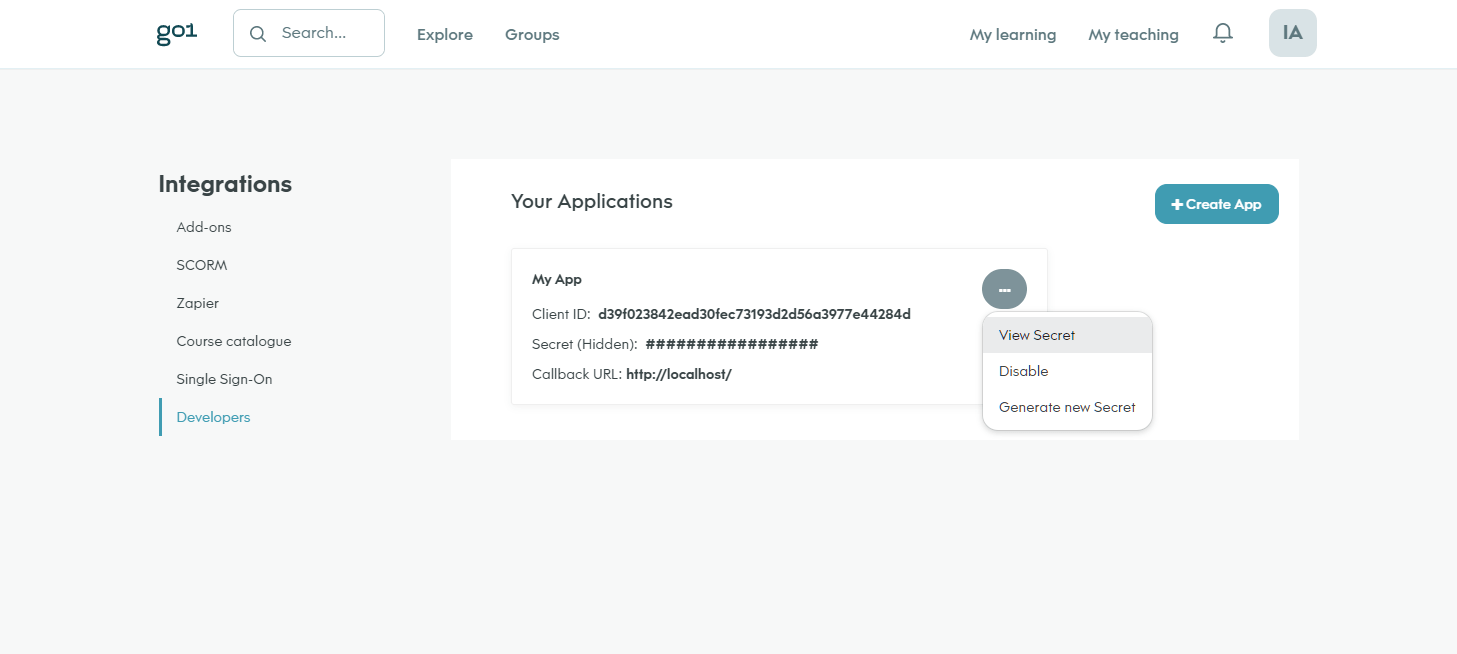
3.3. Select Developers.
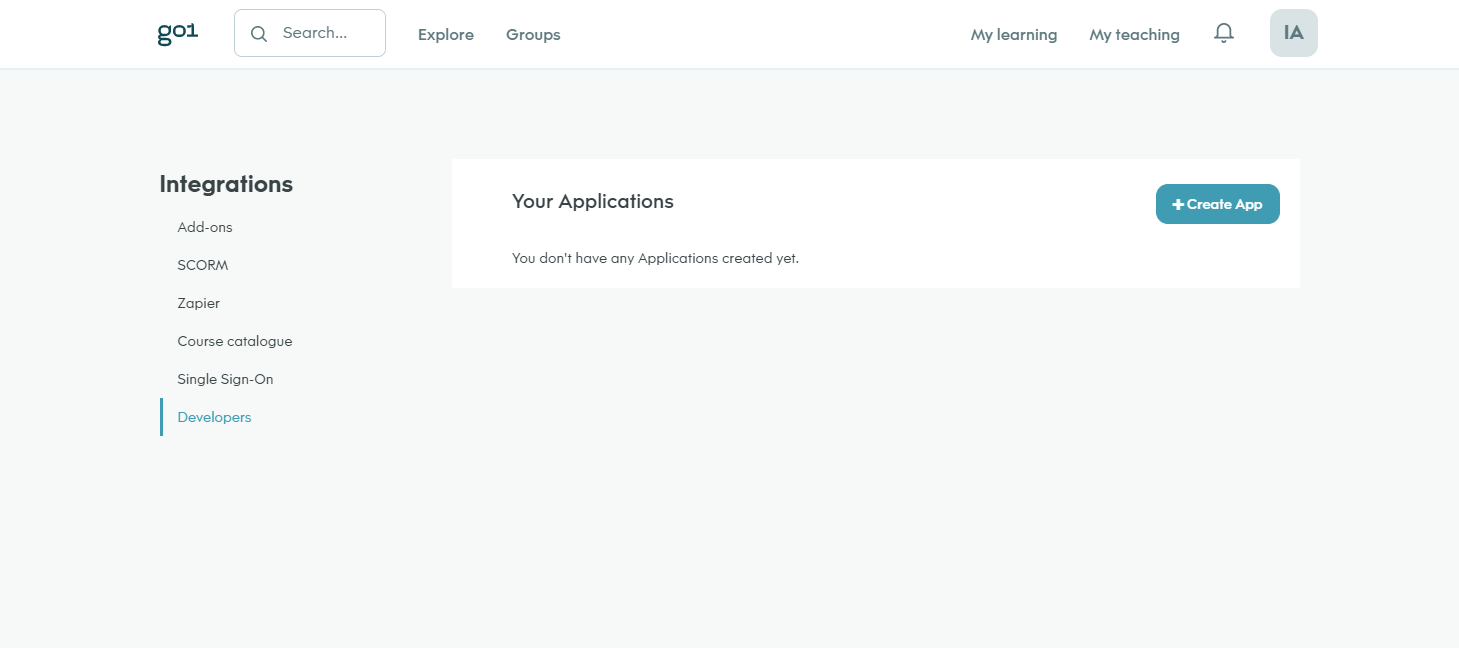
3.4. Here, you’ll need to set up a new application that will provide you with a client id and secret. To do so, select the + Create App button.
3.5. Enter your App Name, and Callback URL. Note that the callback URL can be any valid URL.
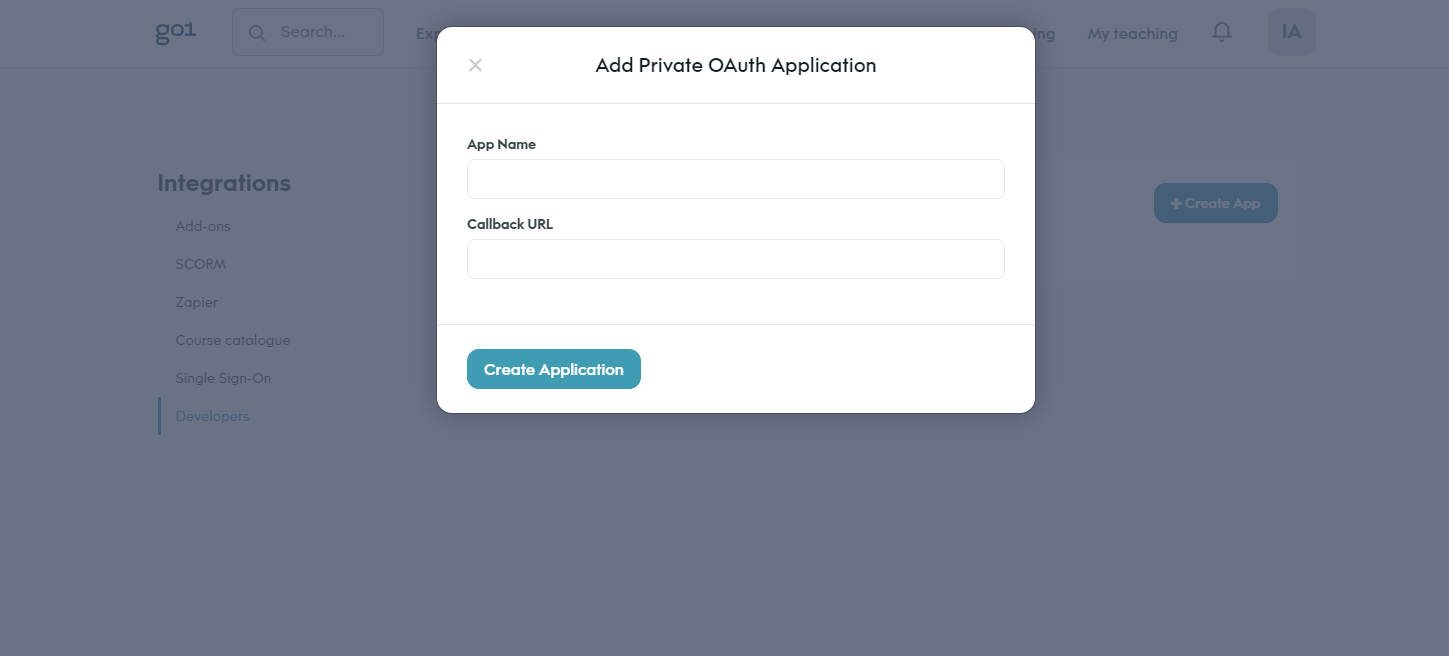
3.6. You'll see a newly created app appear containing a set of API keys; client_id, secret and callback_url.
Now that you have the customer client ID and secret, you can store these within your own application to authenticate with the API and act on the customer's behalf.
To authenticate using the customers API Keys, we recommend checking out the Client Credential Authentication Grant Type - we’ll walk through this method in step 4 below. You can view alternative authentication methods via our Authentication with Go1 page.
4. Authentication using the customers API Keys (Retrieve an access token)
o interact with the Go1 API on behalf of the newly created customer, an access token is required. In this guide, we recommend using the client credentials authentication grant type to retrieve your access token. We’ll walk through the process to retrieve an access token in the steps below.
To complete this request you will need the customer's API keys (client id & client secret) that you have retrieved and stored in step 3.
4.1. To retrieve an access token, make a POST request to https://auth.go1.com/oauth/token passing in your partner Client ID and Secret, and setting the grant type to client_credentials.
curl --location --request POST 'https://auth.go1.com/oauth/token' \
--header 'Content-Type: application/x-www-form-urlencoded' \
--data-urlencode 'client_id=<CUSTOMER_CLIENT_ID>' \
--data-urlencode 'client_secret=<CUSTOMER_CLIENT_SECRET>' \
--data-urlencode 'grant_type=client_credentials'
4.2. The result of a successful request will return an access_token.
 {
    "token_type": "Bearer",
    "expires_in": 43200,
    "access_token": "eyJ0e3efms33f..."
 }
The returned access token will be used to authorize your requests to the API - see the Full API Reference. Note, the returned token is valid for 12 hours, at which point you will need to request a new token.
Learn More
Learn more about working with customer Portals.
- Authentication
- Auth API Reference
- Full API Reference
- Go1 API Postman Collection (coming soon)
- Managing Customer Portals (coming soon)