How to add documents, interactive files and assignments to courses

We've previously shown you how to get started with the basics of course creation, including creating a new course, setting up your modules and adding videos. In this article we will be taking a closer look at some of the other content types within the Go1 portal and how they can be set up for your next course.
Below is a quick and easy step-by-step on Document, Interactive Files and Assignment creation.
Once a course and module have been created, building them out further is simple. Let’s start off by taking a look at Document creations.
Documents
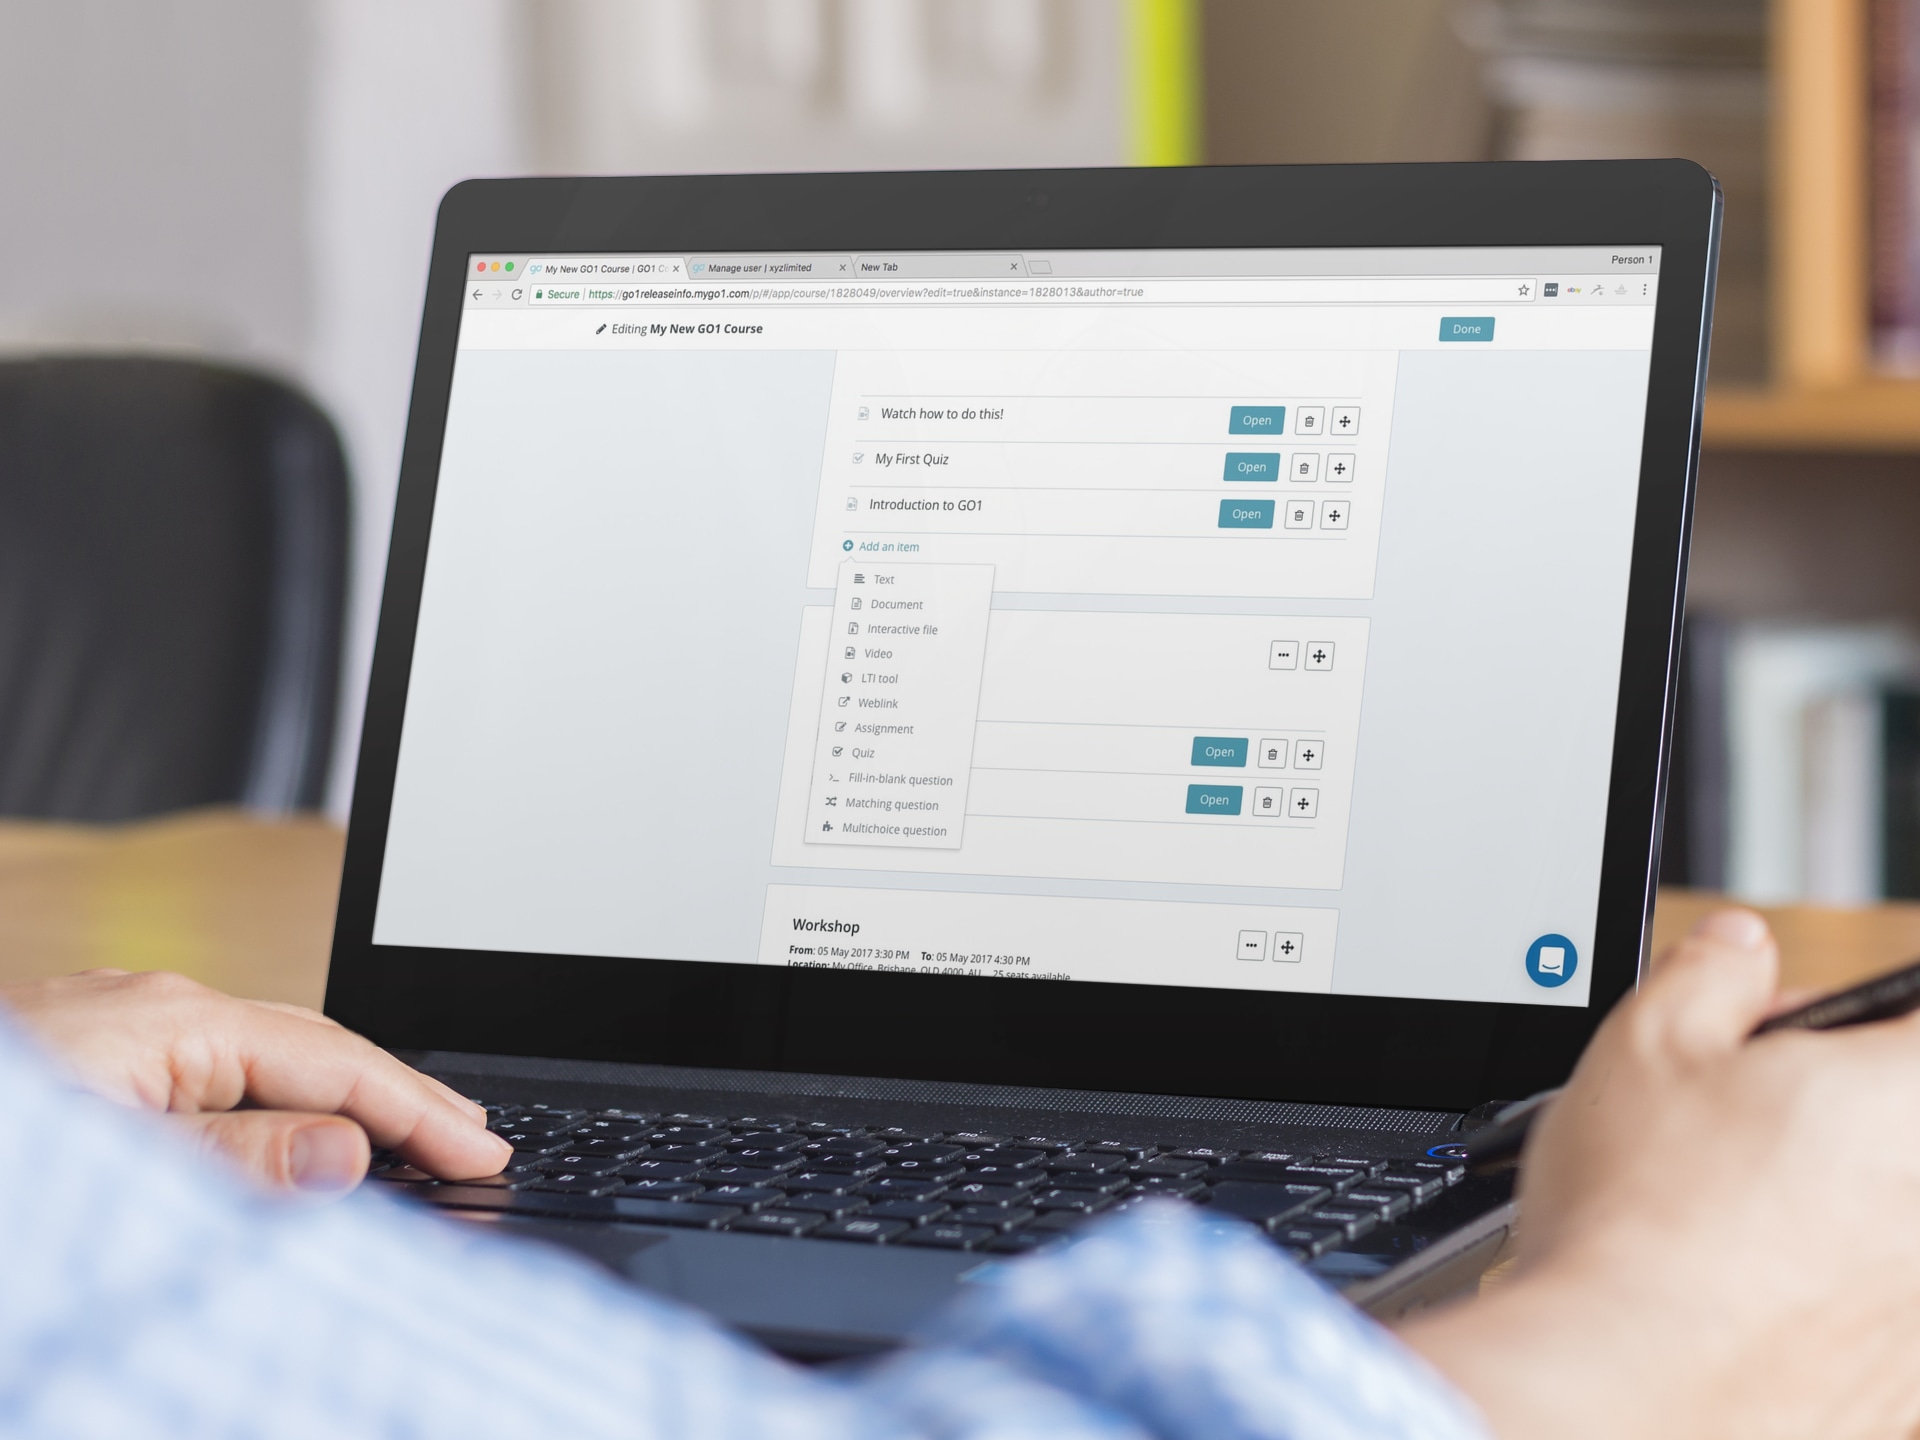
A Document can be created from the Edit Course page by hitting the “+ Add Item” within a module and selecting “Document” from the drop down. From here you can add a title and hit “Create”. Once a document shell has been created hit the “Open” button and upload your Document via the Browse or Drag options.
After the file has uploaded, hit “Save & Exit”. This will allow you to view the document from the learners perspective.
Interactive Files
As of late, learning trends have have been focused around creating modules that contain both traditional learning items - such as documents - along with interactive files. Interactive files are great at assisting in learner engagement and retention. Like documents, interactive files are simple to upload.
The shell of an interactive resource can be created in a similar fashion to a document. To begin hit the “+ Add Item” button and selecting “Interactive File ” from the drop down. From here you can add a title and hit “Create”. Once the shell of the interactive item has been created hit the “Open” button.
When in the shell, an interactive file can be uploaded via the “Interactive File” tab. Zip files in the form of SCORM, tincan, xAPI, AICC are all accepted. A preview image can also be added via the “Preview Image” tab by simply browsing and uploading or dragging and dropping. The selected image will show prior to the start of the interactive file.
Within the interactive shell, you will also notice a “Results” tab. This tab can assist with monitoring learners viewing status...ie In Progress, Complete, etc. the file.
Assignments
Once a learner has navigated through a few learning items, a facilitator may want to test a learners knowledge via a quiz or assignment. An assignment will provide the learning parameters on which a learner will be assessed.
Assignment shells are created in the same way as document and interactive shells. Assignment shells are created by hitting “+ Add Item”. From here, a facilitator can add a title and hit “Create”. Once the Assignment shell is created, hit the “Open” tab to outline the requirements of the assignment, which can be submitted by the learner via upload.
Like the interactive items, facilitators also have the ability to review Assignment statue via the “Results” tab.
And just like that, you’ve created your own content. Adding your own content to a course really is as easy as the click of a button, which can help you to personalised your training material and get your team excited about learning new skills.
For more insights, be sure to subscribe to the Go1 newsletter to stay on top of all the latest L&D trends. Or, you can book a demo today to find out how Go1 can help with your team’s learning needs.